FIRSTLY, A BIT OF HISTORY ABOUT GHILLIE BROGUES
Ghillie Brogues were initially made of a leather piece with holes along its edges. The shoes were was laced on the lower part of your leg over the ankle. The descriptions of Highland dress dating through the 16th century indicate that the holes allowed water to flow in as the Highlanders frequently walked through wet marshlands. The laces were secured at the ankles to stop them from becoming wet or muddy.
They were most often worn by those of the lower classes, and the term Ghillie Brogue means “young boys shoe”, which, as you could imagine, meant that these shoes weren’t very appreciated by the. These shoes are part of the highland dress and are adored by wedding guests, pipers as well as royalty.
Ghillie Brogues (or “ghillies” for short) don’t have tongues, however, they remain classified as dress shoes and can be worn for formal and informal occasions. The concept behind having no tongue on the Ghillie brogue was intended to help drain water from the shoes and help allow the brogues to dry quicker and this characteristic of the brogue remains in place to this day. Certain Scottish Lairds included fringed tongues on the Ghillie Brogues in the 17th century to add an element of style However, this isn’t common today.
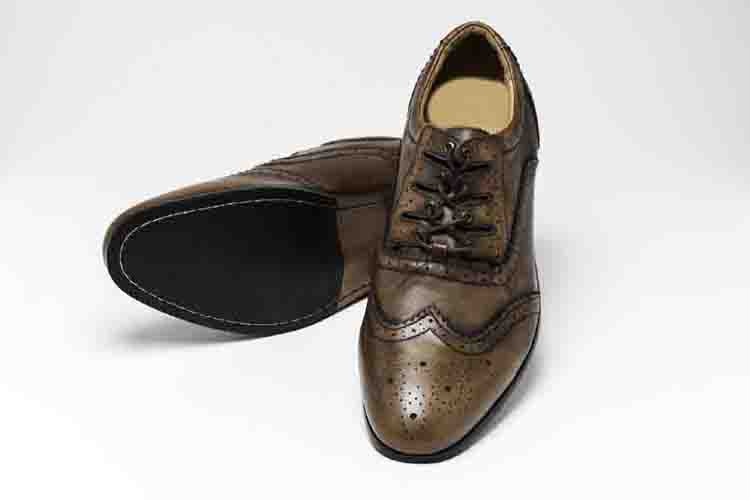
There are numerous methods to create Ghillie Brogues. Some are glued-on soles and others have leather-stitched soles. There are some with leather uppers that are lightweight and others include tartan in the part inside the shoes. Most kilt-brogues are black, however, the most fashionable variant can be found in dark brown Ghillie Brogues. The majority of Ghillie Brogues are designed to be wide-fitting which makes them very comfy (good to dance in! ) However, there are some models which are narrower fitting If that’s your preference.
NOW A STEP-BY-STEP GUIDE ON HOW TO TIE GHILLIE BROGUES
STEP 1
Get the Ghillie Brogues grip the ends of the laces and twist them around each five-time, creating a beautiful column that runs across near the top of the leg. If the twists aren’t tight enough and the laces slide down in the future you should make sure they’re held tight.
STEP 2
Make sure the laces are tied around the back of your leg and tie an oblique knot. Some gentlemen twist the laces around one in the back (just the way you did in Front) and you could do this several times from the back however it’s not necessary. The most important thing is to not have as many twists in the back area as in the front.
STEP 3
Move them towards the outside of your legs and tie them in a knot approximately 5 inches higher than the heel. The tassels then hang down. The reason you tie the bow is the region in Scotland your district or clan originated from. North to the forward, South for the back, and West and East tied to the left and right.
The bow could be tied in a double knot to help keep them secured. Tieing the laces too far in the leg may cause the laces to slide down in the course of the day especially when dancing. A neat, secure knot about 5 inches from the top of the shoe should suffice.
If you are concerned that the bow is too full of lace, you may add more twists to the process above to reduce the quantity of lacing in the final.
With numerous Ghillie Brogue choices to pick from within our selection, You are sure to find the right shade and design to compliment your kilt ensemble.